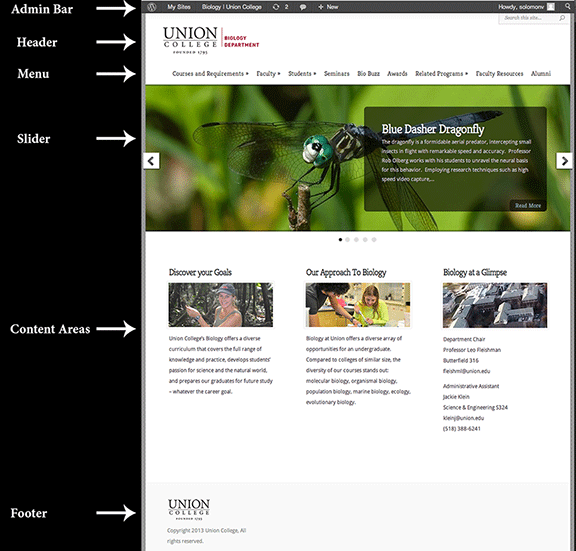
Your Homepage will give the first impression of your site. Make the most of it with creative use of images and text!
It’s good to have an idea of how your homepage will look, but you’ll need to create your pages and posts before you can fine-tune your homepage.

The Menu is how people will navigate through your site. Keep it simple and find out how to manage your menu HERE.
The Slider is the the page-width “slideshow” with captions in the gray box. The Slider gets its information from posts in a category by default, although you can choose to use pages instead. The gray text box is part of the theme and cannot be changed unless you add some HTML code. Choose appropriate images that will display well in the horizontal format and not hide any primary features behind the text box. Find out how to create a Slider HERE.
The Content Areas in the 3 columns below the Slider get their information from pages that you’ve created. Having 3 columns is defined by the theme, although you can disable them. Find out how to designate pages and tweak what you see in the Content Areas HERE.
Set Your Settings

Dashboard | Appearance | Theme Options | General Settings | Homepage tab
Enable or disable the Content Areas by clicking on the button to toggle back and forth between enabled and disabled.
![]()
![]()
Enable or disable the Media Section. When enabled, the Media Section will display a Multimedia Bar at the bottom of your Homepage, above the footer, that will show all of the photos in your Media Library.

Enable or disable the Homepage Quote. When enabled, enter your text in the text boxes for Line 1 and Line 2 and the quotes will display middle of your homepage. In this example, “Need Help?” is Quote Line 1 Text, and “Get help with Your Muse/Wordpress Site Here!” is Quote Line 2 text. WordPress puts in the quotation marks for Quote Line 1.


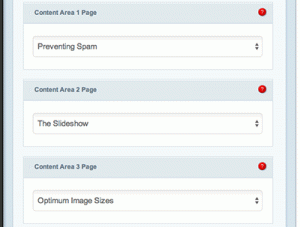
Choose which pages you want to designate in your Content Areas, if you’ve enabled them.
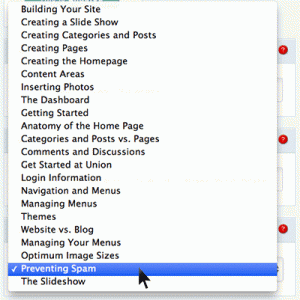
Under each Content Area, click on the arrows to open a list of your pages and click on your preferred page.

Don’t forget to scroll down and <Save> your changes. ![]()