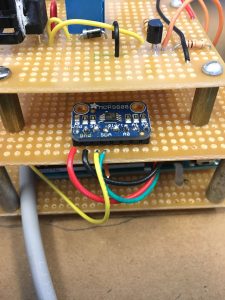
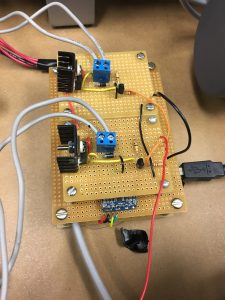
Final Design Report
Below is a link that downloads the final design report.
Final Presentation
Click on the following link to view the final slideshow presentation:
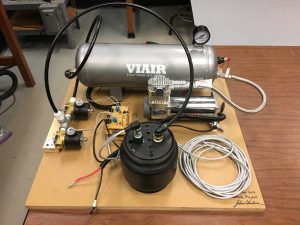
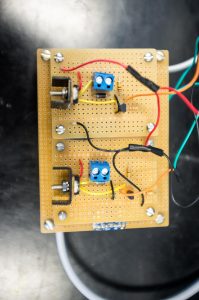
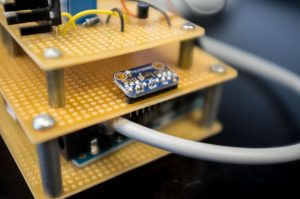
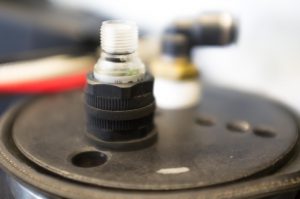
Pictures of final design
Thermal Testing – Journal
October 20, 2016
Today I headed to GE Global Research Center to do thermal testing on my ultrasonic sensors at one of their labs. Utilizing a thermal chamber (Cincinnati Sub-Zero), testing is conducted by placing the ultrasonic sensor in a bracket, suspended by a small vice, and pointed towards one of the chamber’s steel walls. Distance between the sensor and the wall was measured using an HDX tape measurer and a Mitutoyo caliper.
Although the chamber itself can heat or cool within minutes, thermal mass must be considered. This factor means it takes much longer for the sensor to get to its desired temperature. The first temperature measurement (-20ºC), at ~50 mm, took more than 20 minutes to get to temperature. At cold temperatures like -20ºC, the chamber temperature drastically changed when the chamber door was opened to make an adjustment. To be as time efficient possible, the chamber door was left closed and the sensor at the same distance while cycling through different temperatures. For example, the sensor was left at 50 mm while the temperature ranged from -20ºC to 30ºC, by increments of 10ºC.
An interesting observation was that during the transitionary stages of thermal change, the output voltage of the sensor fluctuated; sometimes by only 5mV, sometimes by 30mV. The changes could be for a number of reasons. One of them was that when the thermal chamber was changing to a new desired temperature, that there was a thermal gradient within the chamber which may cause the circuitry to experience various temperatures simultaneously. My hypothesis is that there may be onboard circuitry within the sensor to compensate for temperature differences. I will contact the manufacturer soon to try and get confirmation as to whether this theory is true.
The trend with the sensor is that there is a significant voltage spike at lower temperatures (see thermal testing data sheet).
At 50mm and 40ºC, there was a noticeable saturation in the sensors output. There was little to no fluctuation in sensor’s output, which is likely because of the high temperature environment. It is something to keep an eye on as testing continues, knowing where the sensor’s distance limits are at various temperatures and compensating for them accordingly.
Only a distance of 50mm at various temperatures were taken today.
October 21, 2016
Day 2 of testing.
Thermal testing is continued today. Started at 200mm and 40ºC. At first observation, there seems to be a noticeable output difference between 40ºC and 30ºC at the same distance (200mm). A modification was made to the test rig, I used a paper towel core to surround the ultrasonic sensor to try and avoid radical temperature gradients which could be affecting the circuitry of the sensor. As of now, the modification has done little to mitigate the output fluctuation possibly due to thermal gradation.
After a three more tests at the same distance and different temperatures, there is a noticeable fluctuation in output voltage while in the transitionary stages of thermal change. Staying at a steady ~6V when the temperature is stable, the output has been seen to spike positive by up to 300mV.
Before coming into testing and after yesterday’s observations, it is clear that the ultrasonic sensor is reactive to temperature differences. Because of this I started thinking about other methods of distance measurement; for this application, lasers came into mind.
After altering the measuring distance to 125mm while retaining the thermal shield, there seems to be less fluctuation in sensor output.
