Media: GIMP, create a header for WordPress
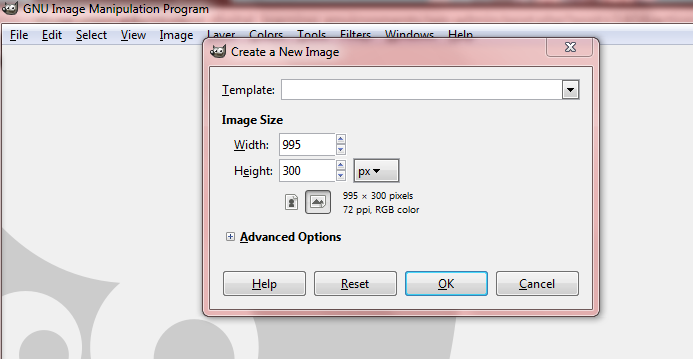
In order to make a header for select WordPress themes you first need to find out the dimensions of the header. It may vary by theme but for the most part the header size is 995×300 pixels.
So first open up GIMP and create a new image size of 995×300 pixels:
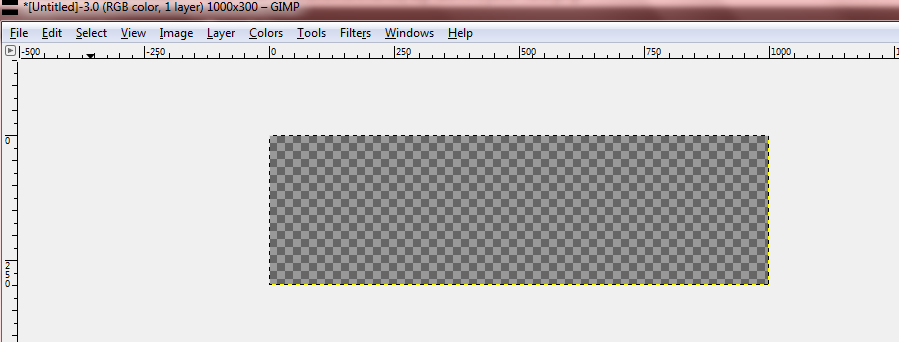
Now you should have a transparent image of the size 995×300 on your GIMP workspace. If you do not have a transparent back ground simply create a new layer of the same size, by pressing CTRL+SHIFT+N or in the menu Layer>New Layer, and make sure that the transparent option is filled:

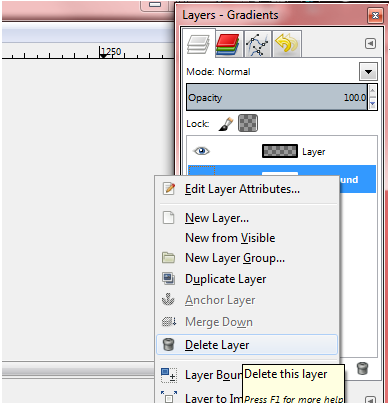
If you default background layer was not transparent delete it by going to the Layers toolbox right click the nontransparent layer and click “Delete Layer.” This will give you workspace image that should look like the below, this is the transparent background “coloring”:
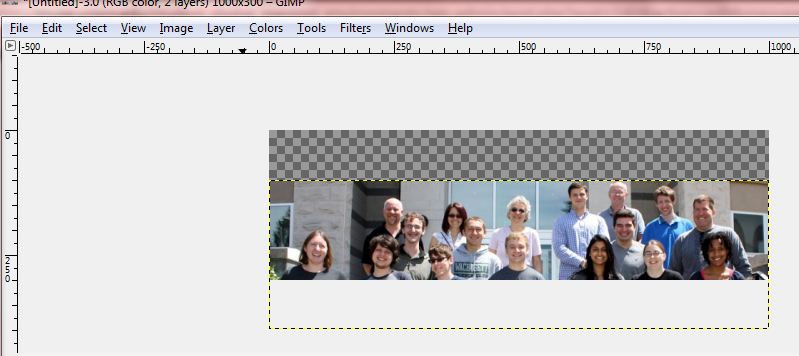
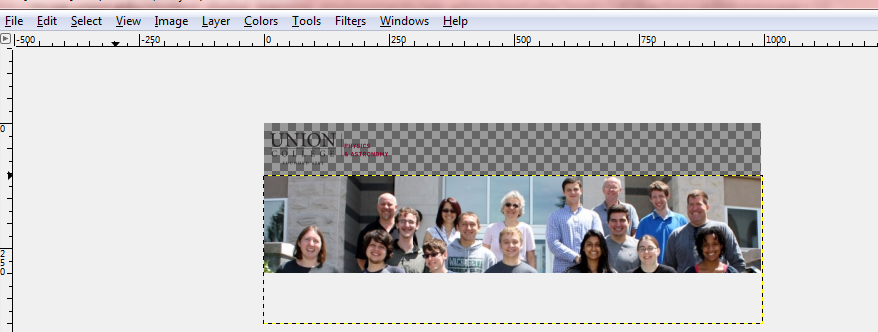
All that remains is to “Open as Layers”, by pressing CTRL+ALT+O or File>Open as Layers, the picture you want to use in the header then make sure that the portion of the picture you want to see is in the canvas window:
Next “Open as Layers” the logo to be displayed in the header. You may have to fiddle with the pictures until the entire logo is in the transparent section and there is enough of the picture you want to display, here is what you should be aiming for:
Lastly, export the GIMP file as a PNG from File>Export and upload it into your WordPress header section and save the settings:


