The chart recorder must be turned on, with paper in it, or the computer-controlled controller box won’t work. Follow these instructions only if you want to make a paper recording. Why you would want to do that, I don’t know. Normally you ignore this page and do everything with the computer. The chart recorder is useful for X-ray optics alignment tests, but for those follow the instructions in the paper manual.
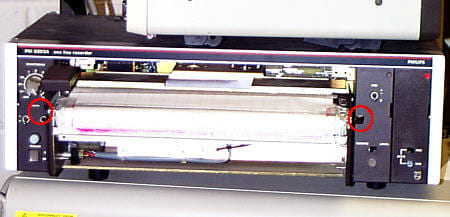
1) Make sure the chart recorder has paper. To add more, push down the two levers on the sides of the paper bed (red circles) and pull the bed out. Put in new paper.
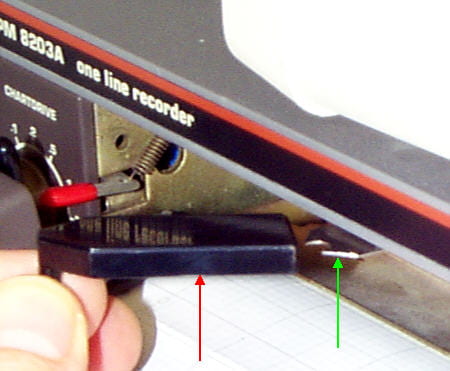
2) Install the recorder pen (red arrow) with the cap off. It slips into a metal slot above the metal guide shown (green arrow). Some day, all of these ready-made pens will have dried out. Then you’ll have to rig some other kind of marker pen. Good luck!
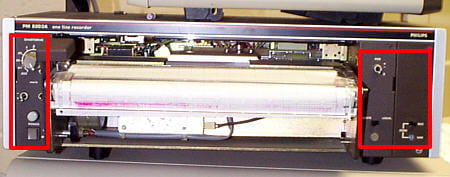
3) Set the recorder controls (red rectangles): POWER ON, CHART DRIVE set to 10 mm/° 2Θ, REMOTE/LOCAL set to REMOTE, RECORD/ZERO set to RECORD. Other switches are inactive with these settings. The CHART DRIVE setting can be varied to make longer or shorter traces.
